Install NixOS
In this section, we perform a manual installation using the minimal ISO image that can be downloaded from the NixOS download page.
Two setups are described:
- Virtual setup, using an ARM64-based guest with UTM on MacOS,
- Physical setup, using an ASUS ROG STRIX-X99 server.
Network environment configuration
Virtual setup
In the UTM virtual machine configuration, in the network configuration tab, select:
- Network Mode:
Bridged (Advanced)
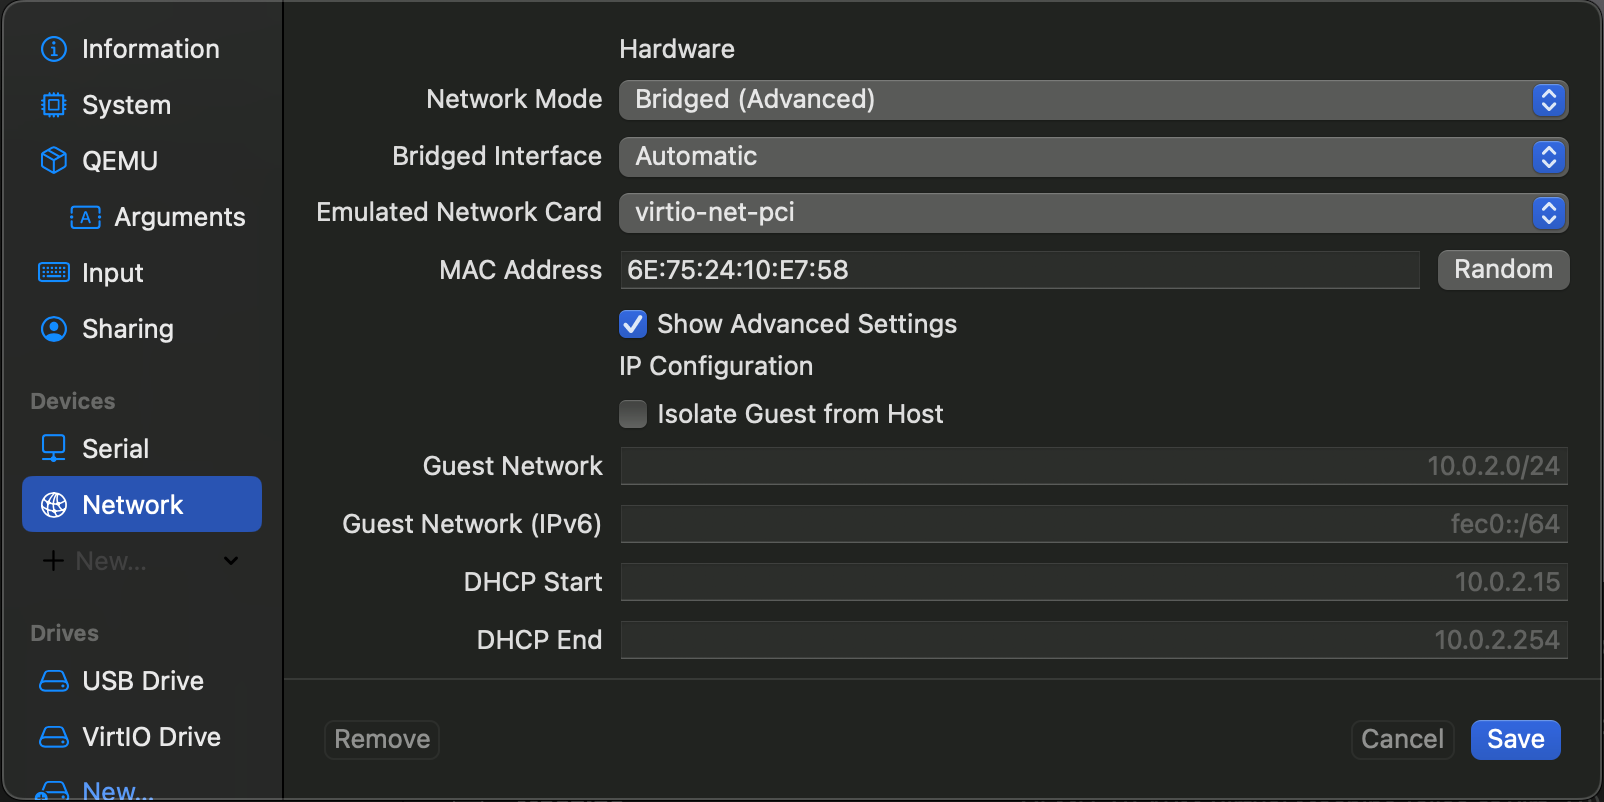
Make sure that the MAC address for the virtual machine NIC card is unique to this machine, otherwise you may experience issues with the DHCP resolution.
Physical setup
Make sure the physical machine has a wired or a wireless connection to the network.
Target machine firmware configuration
Virtual setup
Virtual machine parameters
Use Virtualization (as opposed to Emulation) for the sake of speed. Choose Custom configuration (Other).
Information
- Name:
nixos
System
- Architecture:
ARM64 (aarch64) - System:
QEMU 7.2 ARM Virtual Machine - Memory:
8192 MB - CPU:
Default - CPU Cores:
4 - Force Multicore
- JIT Cache:
Default
QEMU
- UEFI Boot
- RNG Device
- Balloon Device
- TPM 2.0 Device
- Use Hypervisor
- Use local time for base clock
- Reset UEFI Variables
- QEMU Machine Properties:
Default
Input
- USB Support:
USB 3.0(XHCI) - Share USB devices from host
- Maximum Shared USB devices:
3
Sharing
- Enable Clipboard Sharing
- Directory Share Mode:
None
Display Device (optional, needed for interactive UEFI configuration)
- Emulated Display Card:
virtio-ramfb - Resize display to window size automatically
Serial Device
- Mode:
Pseudo-TTY Device - Target:
Automatic Serial Device (max 4)
To open a terminal emulator (e.g. on MacOS):
picocom /dev/ttys005 # Enter Ctl-A Ctl-X to exit the terminal emulator
To resize the terminal :
stty cols $COLS rows $ROWS`
Network Device
- Network Mode:
Bridged (Advanced) - Emulated Network Card:
virtio-net-pci - MAC Address:
xx:xx:xx:xx:xx:xx
USB Drive
- Removable Drive
- Path:
nixos-minimal-23.11.6743.576ecd43d3b8-aarch64-linux.iso - Read Only?
- Image Type:
CD/DVD (ISO) Image - Interface:
USB
VirtIO Drive
- Removable Drive
- Read Only?
- Image Type: Disk Image
- Interface: VirtIO
- Size:
64 GB
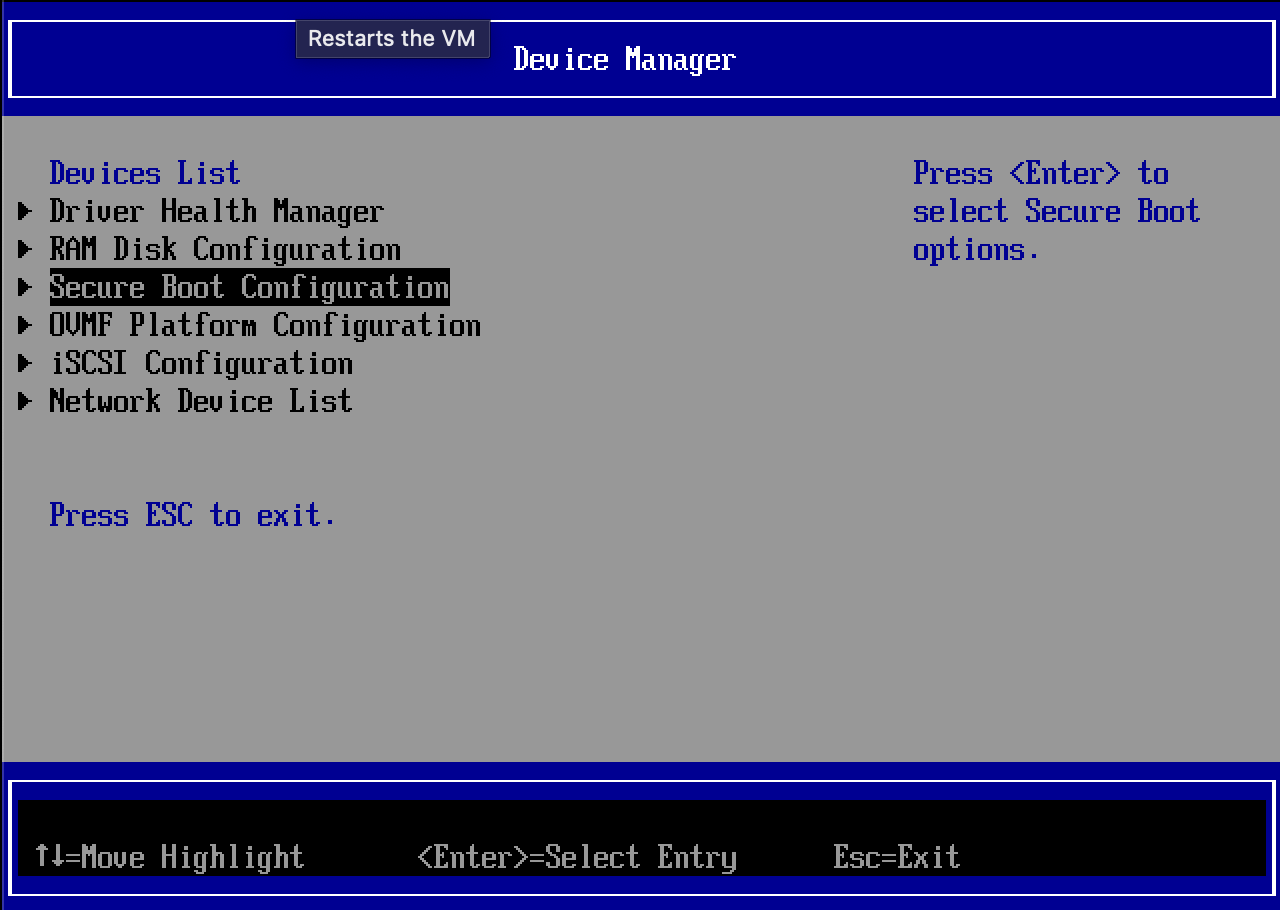
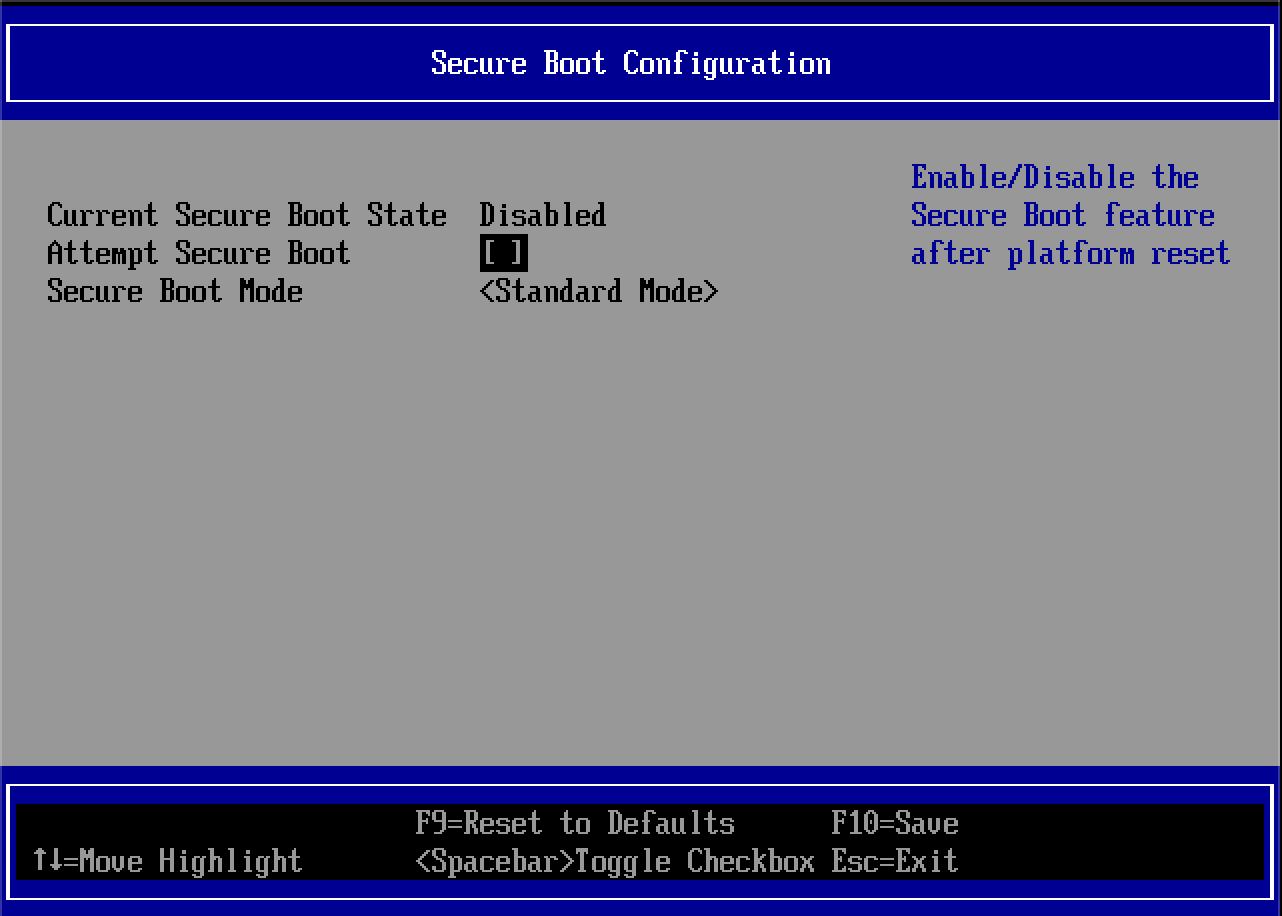
Disable Secure Boot in the UEFI configuration
By default, NixOS installation images are not configured for Secure Boot1. The virtual machine won't boot unless Secure Boot is first disabled in the UEFI BIOS.
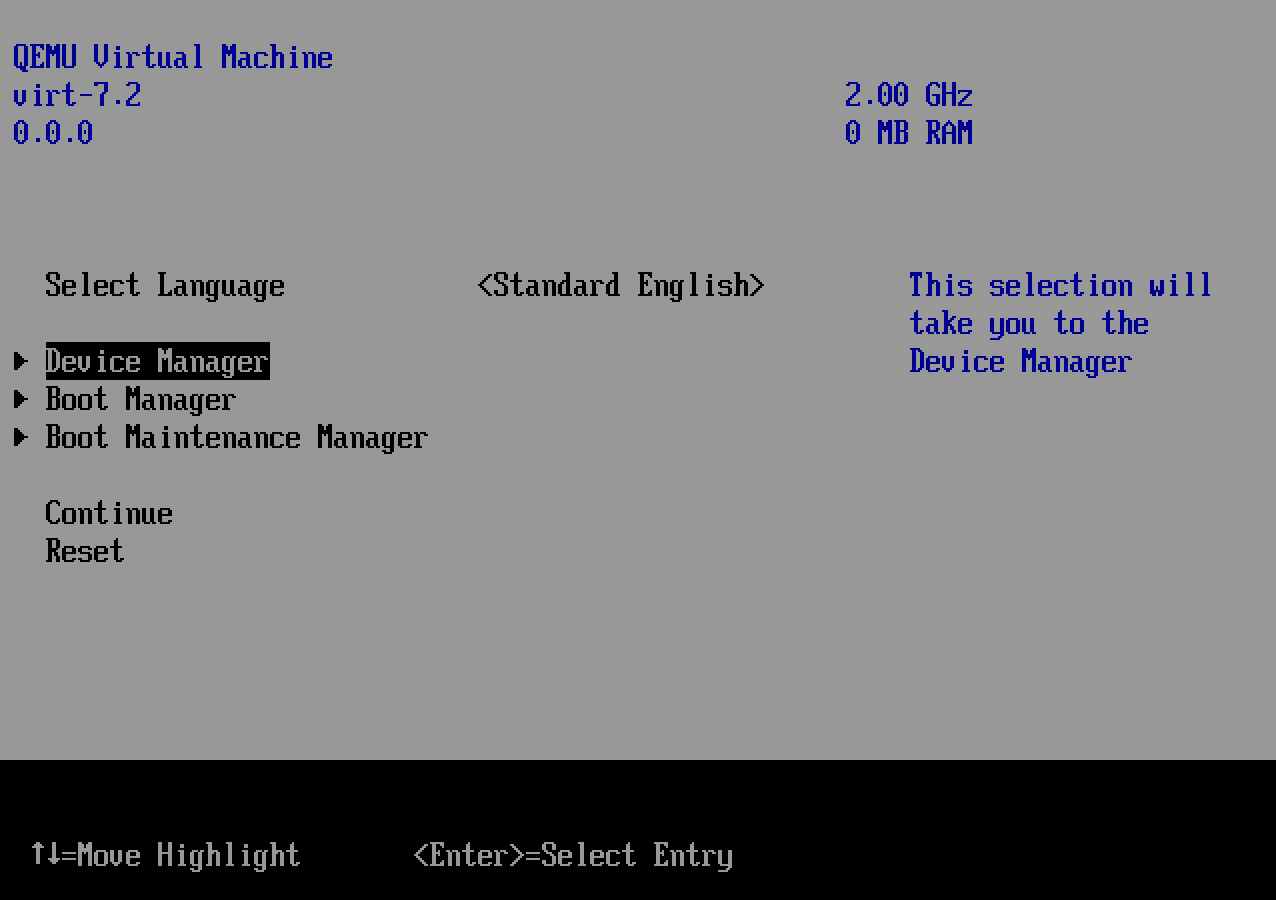
Boot the guest VM. Hit F2 at the start of guest boot to enter the boot menu, disable Secure Boot (this requires that the Display Device is enabled on the guest VM).
Physical setup
Hardware tips
Older STRIX-99 boards seem to be susceptible to electric connection issues with the RAM modules. Clearing the CMOS chip may help. Brushing the DDR4 slots pins, blowing air too. Bad karma will kill you.
Some second-hand STRIX-X99 boards seem to have a bad MAC address on the Intel
NIC interface (88:88:88:88:87:88). This can be solved with Intel's EEupdate
MS-DOS software utility, that is used to program the SPI Flash images in
development or production line environments. You will need a DOS formatted
bootable USB-key. You can create such a key using balenaEtcher and the
LiteUSB
image
courtesy FreeDOS.
The following operations will solve the problem:
- Copy the
EEUPDATE.EXEutility to the FreeDOS bootable USB key - (Temporarily) enable
CSMin the STRIX-X99 BIOS - Boot the USB key
- Enter DOS
C:\ eeupdate /nic= /dataC:\ eeudpate /nic=1 /mac=xxxxxxxxxxxx- Disable
CSMin the STRIX-X99 BIOS
Pointers:
BIOS Settings
Advanced\Trusted Computing
- TPM20 Device Found
- Security Device Support:
Enable - Active PCR banks: SHA-1,SHA256
- Available PCR banks: SHA-1,SHA256
- SHA-1 PCR Bank:
Enabled - SHA256 PCR Bank:
Enabled - Pending operation:
None - Platform Hierarchy:
Enabled - Storage Hierarchy:
Enabled - Endorsement Hierarchy:
Enabled - TPM2.0 UEFI Spec Version:
TCG_2
Advanced\CPU Configuration
- Intel Virtualization Technology:
Enabled
Boot
- Fast Boot:
Enabled - Wait For 'F1' If Error:
Disabled - Setup Mode:
EZ Mode
Boot\CSM (Compatibility Support Mode)
- Launch CSM:
Disabled
Boot\Secure Boot
- Secure Boot state: Disabled
- Platfor Key (PK) state: Unloaded
- OS Type:
Windows UEFI mode
Boot\Secure Boot\Key Management
- Clear Secure Boot Keys:
Yes
Boot from NixOS installation medium
Boot the target machine using the NixOS installation image and establish ssh connectivity from your
installation terminal.
If the target machine is real hardware, when the NixOS installation USB-key
initial splash screen appears, choose HiDPI, Quirks and Accessibility, then
Serial console=ttyS0,115200n8, finally NixOS *** Installer, in order to
enable console via the serial link.
Then on your installation terminal, connect to the target machine with:
picocom -b 115200 /dev/tty.PL2303G-USBtoUART110
On the target machine...
Install the correct keymap:
sudo loadkeys fr
Take a look at the networking configuration:
ip a
Set a password for user nixos, or better, setup .ssh/authorized_keys, so
that you can ssh into the target machine from your installation terminal.
passwd
Bootstrap installation
Final installation
OBSOLETE TO BE REMOVED
Make sure that secure Boot is disabled, and that the installation disk is loaded in USB drive.
Then boot the guest VM.
On the host machine, prepare to serve our custom installation scripts:
python3 -m http.server -d ../../bootstrap
On the guest VM, retrieve and run the custom installation script:
curl -O 192.168.43.1:8000/install.sh
bash install.sh
then shut down the guest VM:
sudo shutdown now
then on the host machine, eject the installation disk from the USB drive, optionally remove the VM Display Device, optionally take a snapshot of the guest VM:
qemu-img snapshot ~/Library/Containers/com.utmapp.UTM/Data/Documents/stone.utm/Data/*.qcow2 -c step1
Boot the newly installed system and configure
Boot the guest VM (from the newly installed disk drive).
Connect to the guest VM as admin and activate NixOS flakes:
ssh-add ~/.ssh/id_ed25519
ssh -A admin@192.168.43.2
curl -O 192.168.43.1:8000/install2.sh
bash install2.sh
Footnotes
-
For secure boot with NixOS, see the nixos wiki and lanzaboote github project. ↩